Hello all! I’ve been trying to push myself a lot lately in regards to my art, experimenting with new techniques and more advanced lighting, and I thought I would share some of what that’s been like with any of you that were interested. This was one of my more technically complicated pieces I’ve done in a long time and I learned a lot from the process. I hope someone finds this information valuable and I encourage you to download the Lineart and try coloring it yourself! Share your results with us on Twitter, Instagram, or Facebook!
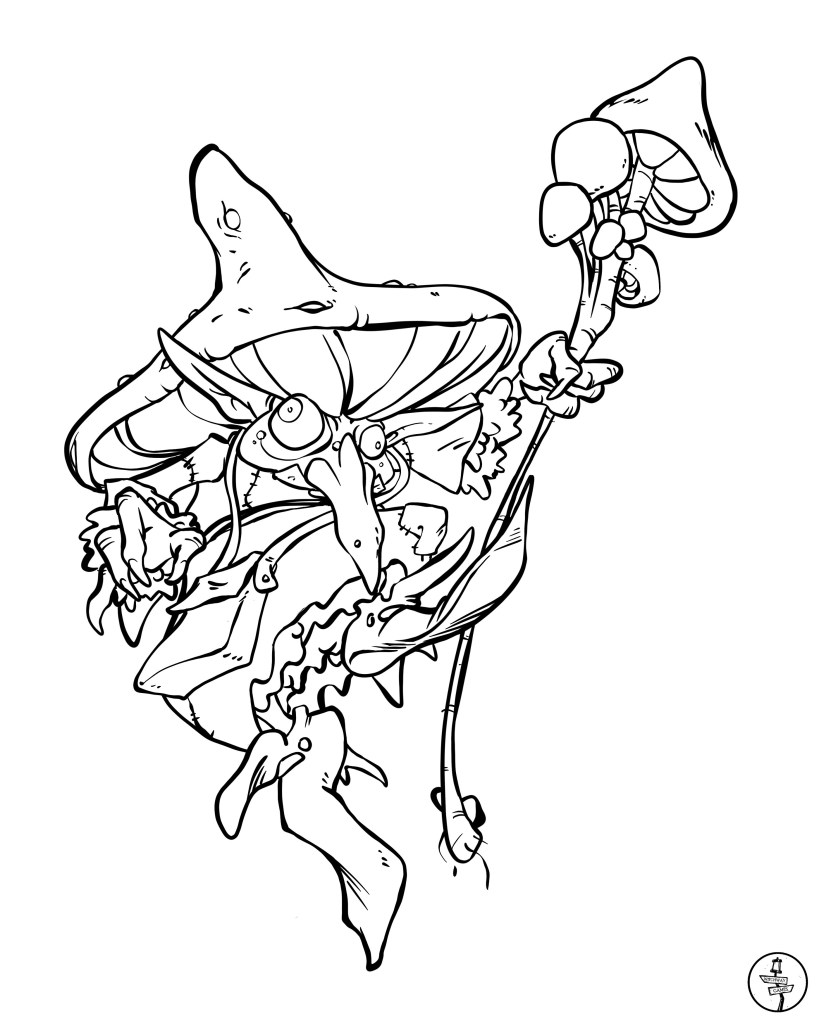
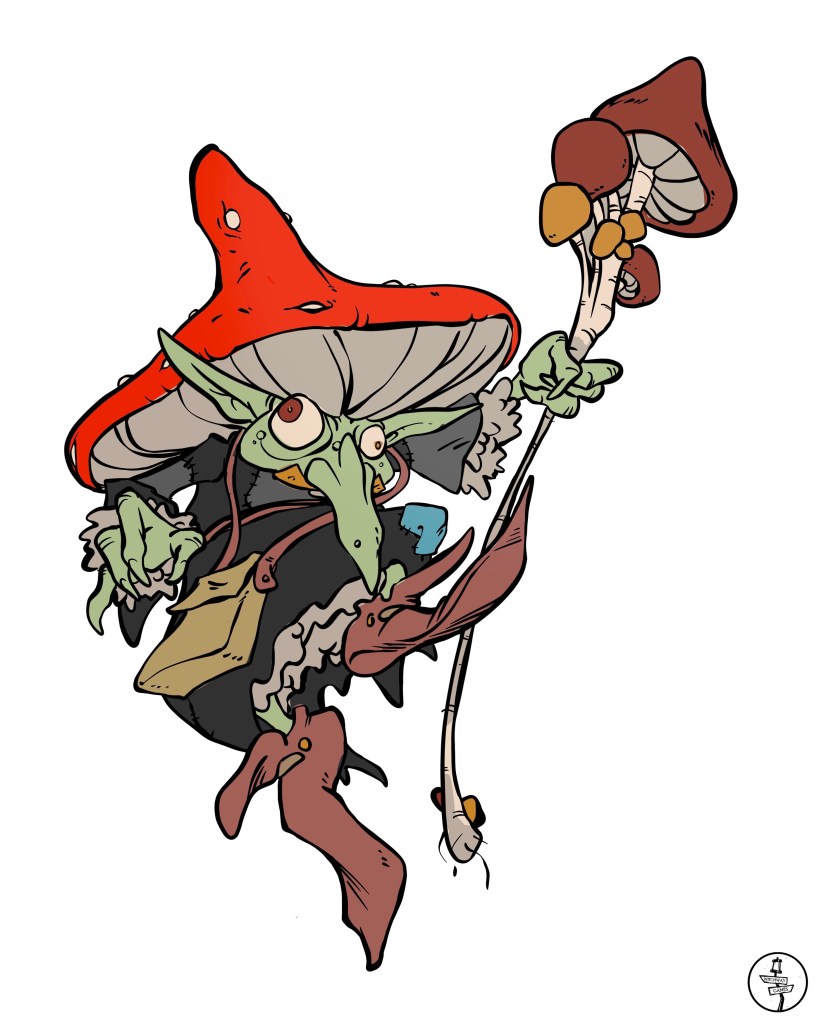
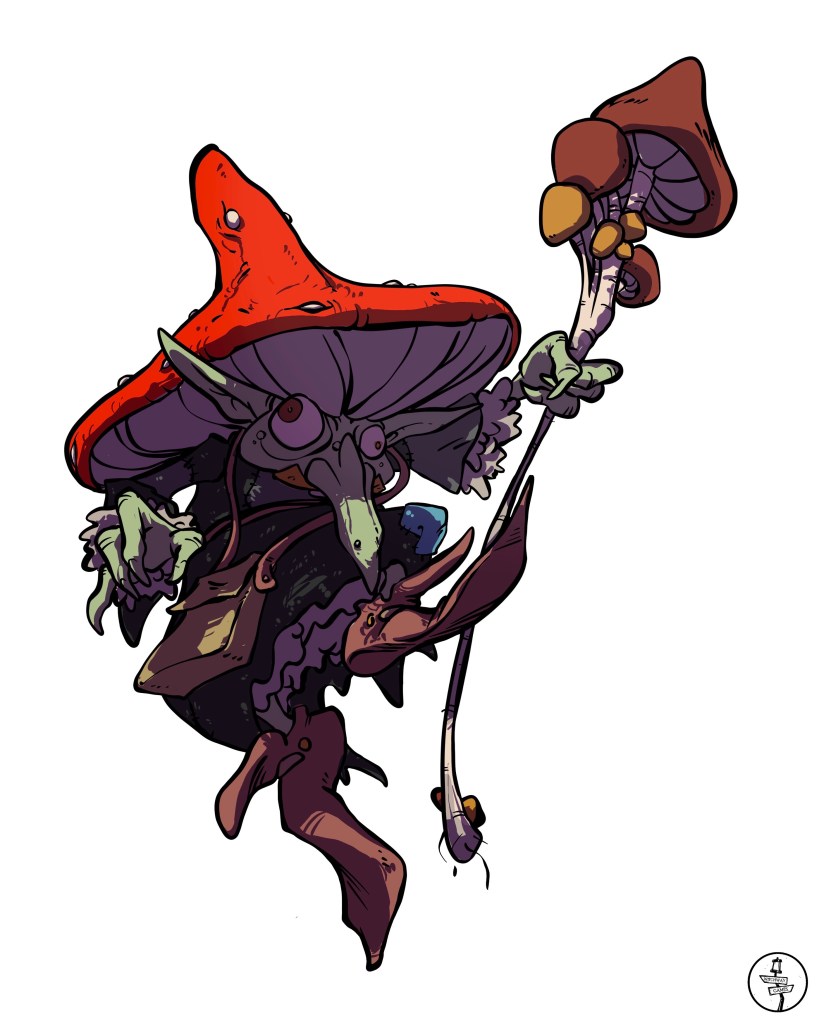
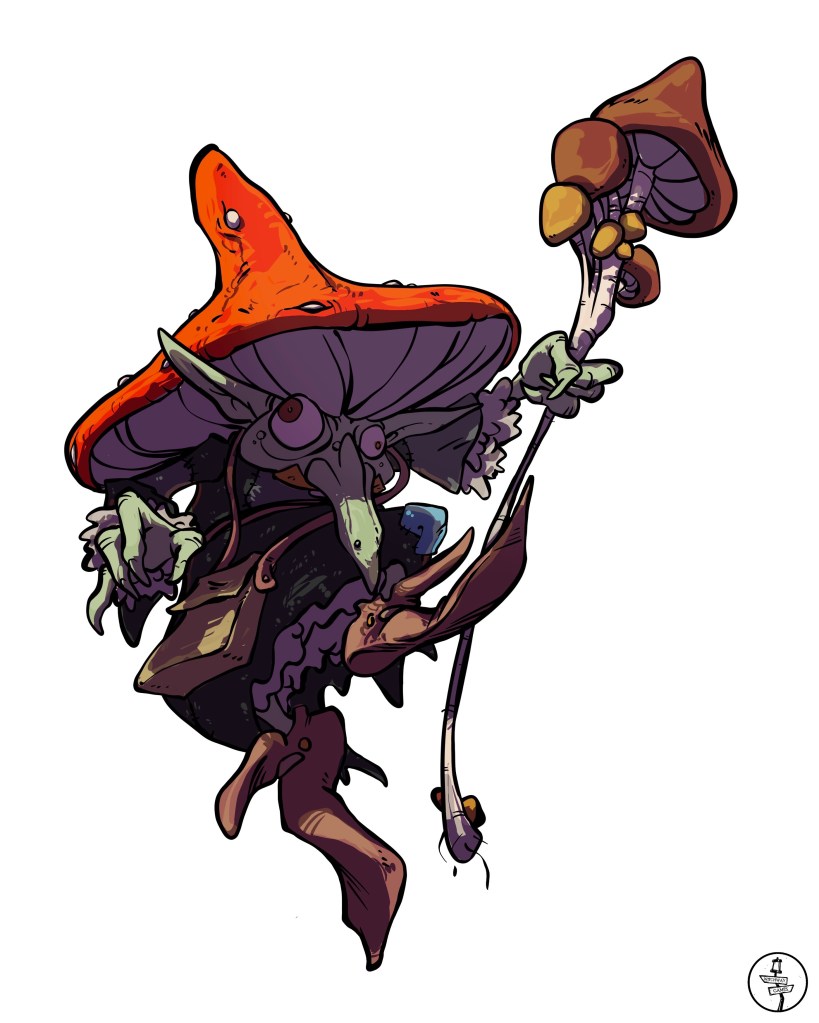
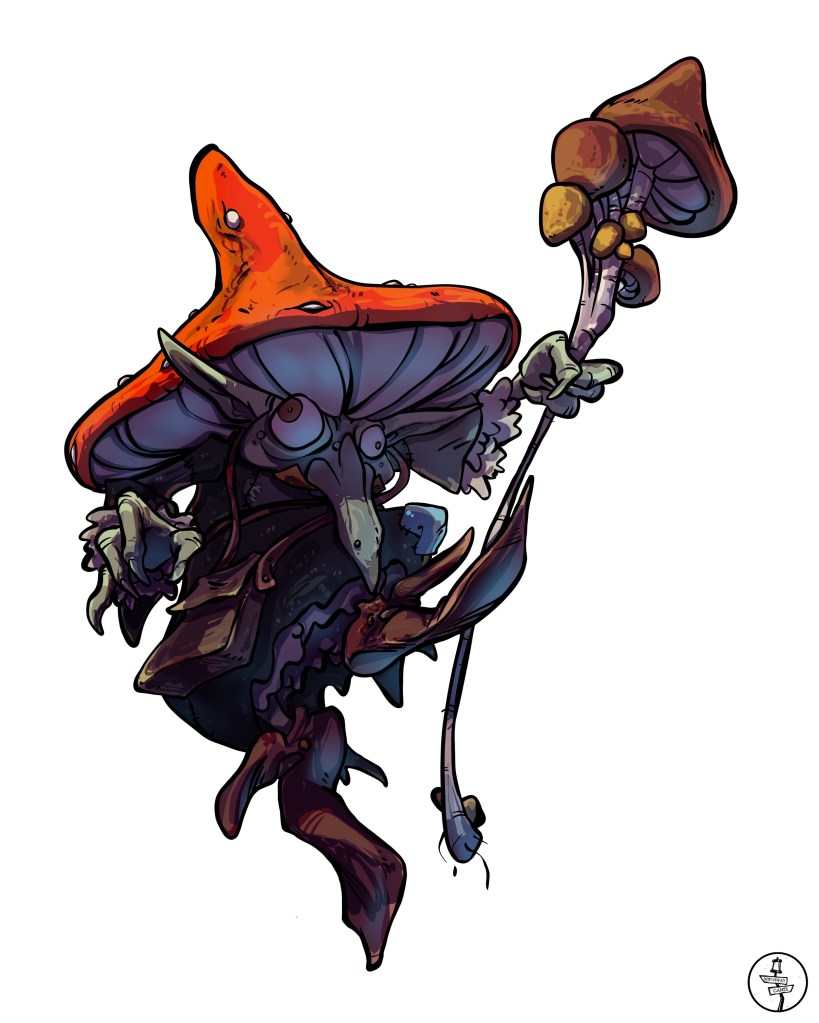
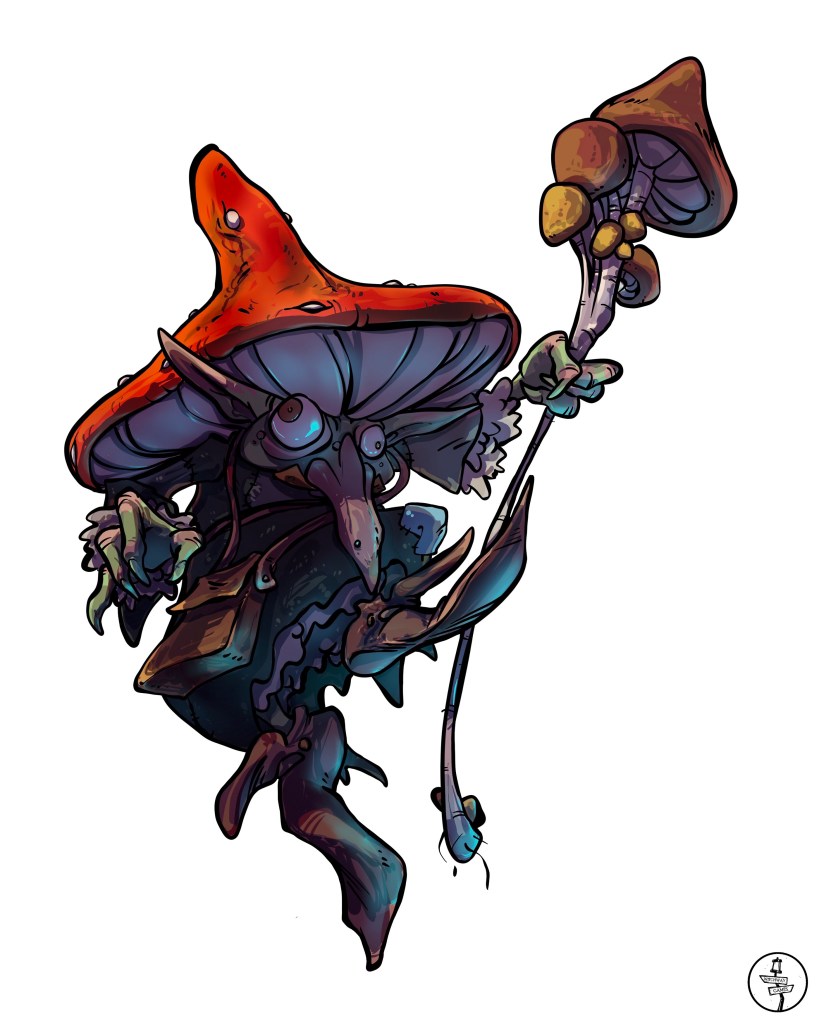
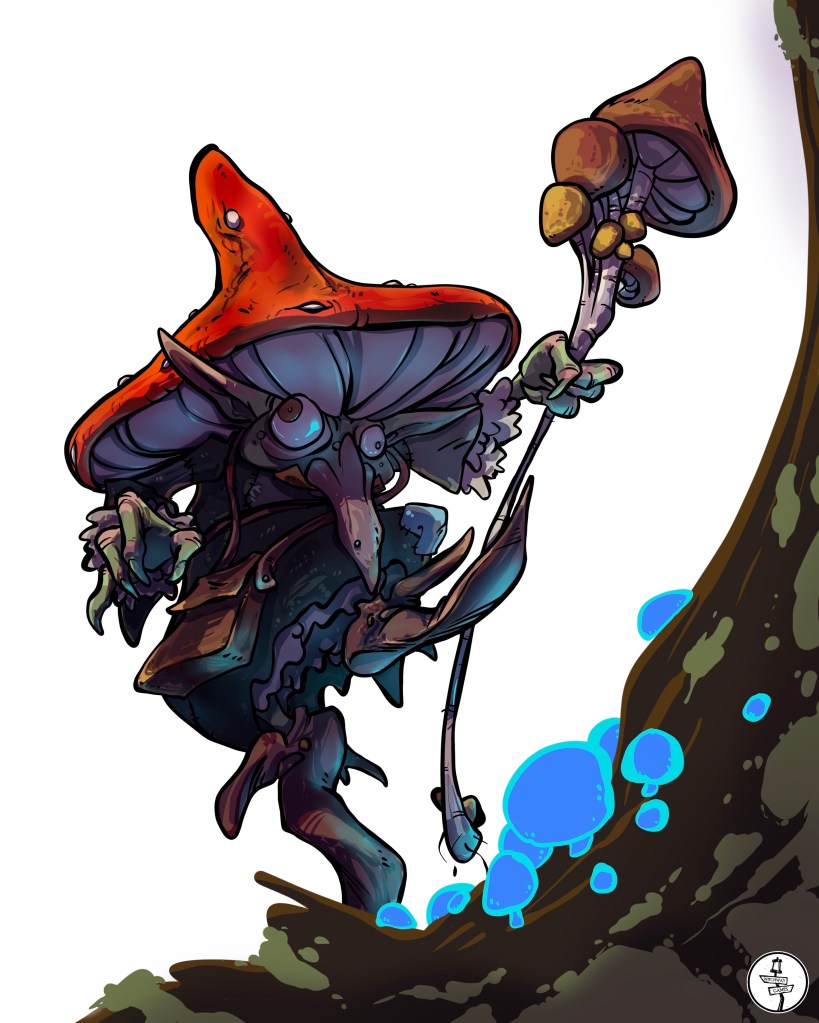
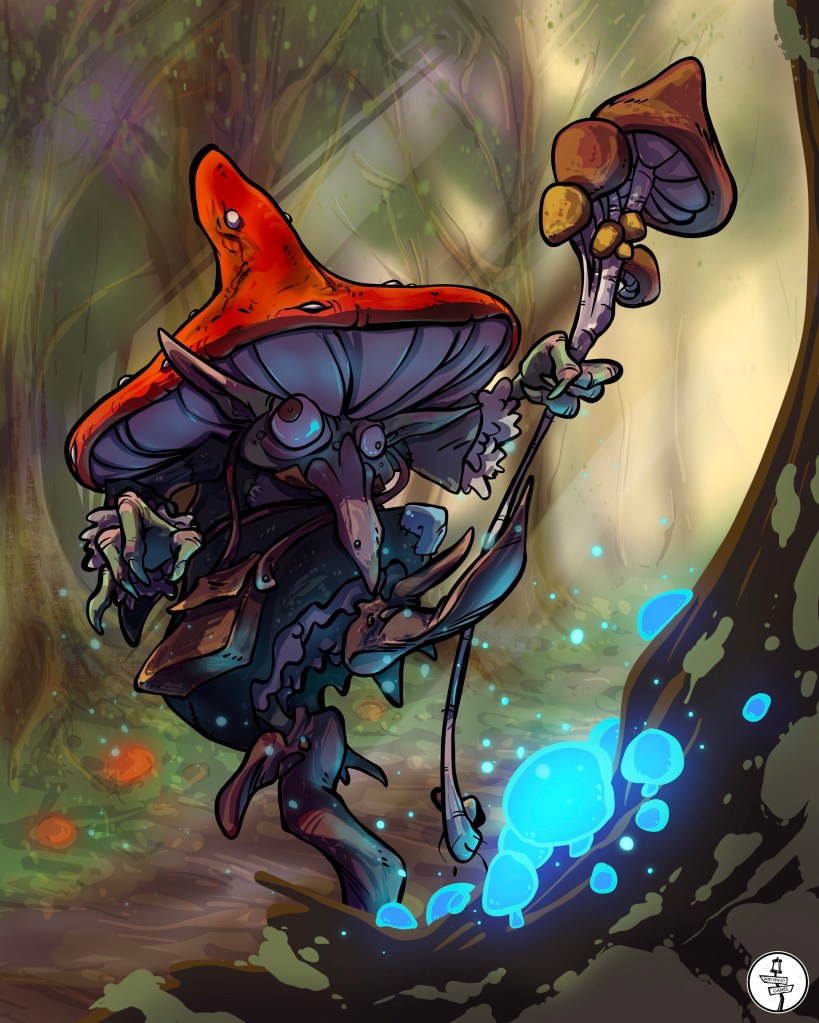
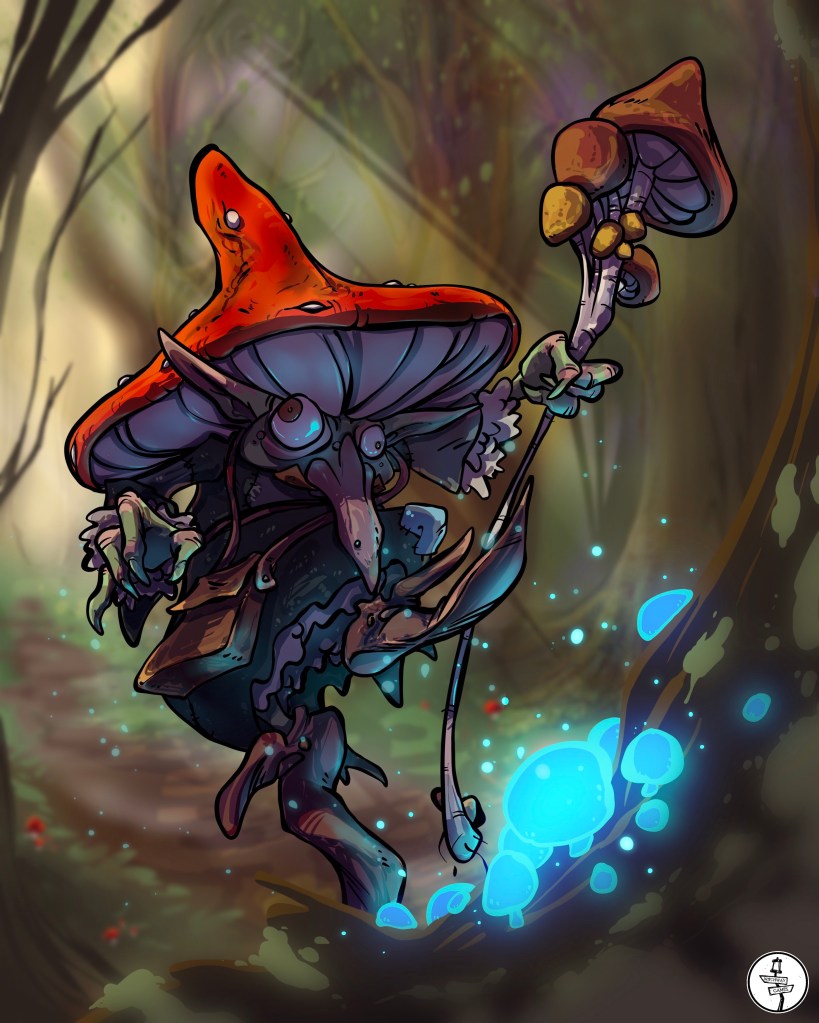
Lineart: After I had sketched out the character I took some time to clean up the lineart. Feel free to download this and color it on your own! Let us know how it comes out!Flat Colors: I picked some basic flat colors just to separate the core parts of the character.Primary Shadow Layer: I used a bright purple color as an overlay layer to block in the biggest shadows. I wanted the light source behind the Goblin, so in this case most of the character is in shadow.Highlight Later: I used a bright yellow overlay layer in a few select spots to represent where the sunlight was hitting the character from behind.Secondary Light Layer: I wanted some magical blue light cast onto the goblin from the front to alleviate some of the shadow. I used a big soft brush here.Secondary Shadow Layer: I added a second purple multiply layer to help deepen those more intense shadows and increase contrast. I wanted to make sure the veins in the mushroom hat stood out specifically here.Additional Secondary Light: I used a harder brush and pushed a little more light (in the eyes in particular) from that magical light source in front of the Goblin.Color Correction: I added a few overlay layers here to adjust the color of certain areas like the nose, fingers, ears, and satchel.Foreground Layer: I blocked in some simple shapes with a hard brush to establish what items were in the foreground.Magical Light Layer: Shazam! A bright blue color dodge layer got blurred and some fun floating specs were added to show what’s casting that blue light on the Goblin.Background Layer: blocking out rough details in the background. Don’t be afraid to blur it and then draw on top with a harder or textured brush, then blur, then blur, then draw, over and over!Background Correction: I needed to flip my background so the light source was coming from the right direction to match the Goblin, and I blurred more elements to keep the Goblin feeling small using the depth of field!
Thanks for taking the time to check this out, and feel free to reach out if you have any questions about layers, colors, brushes, or anything else. Is there another tutorial you’d like to see? process pics or videos of another piece specifically? Let me know and I’ll do what I can!